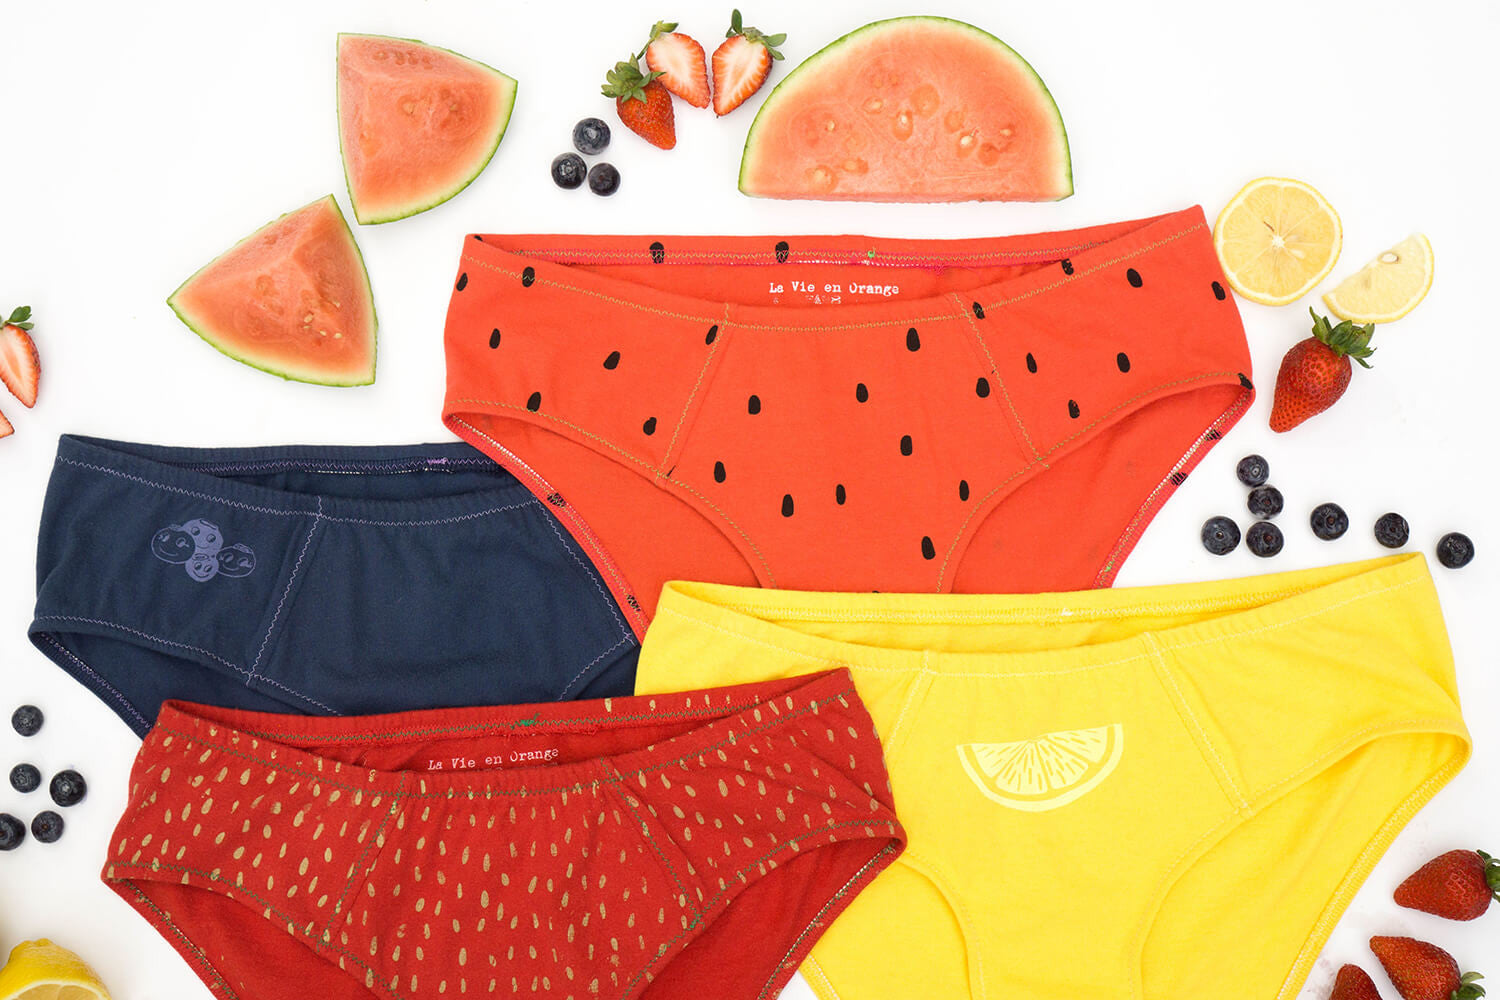
Juicy!
Shop the Fruit Salad Mini-Collection
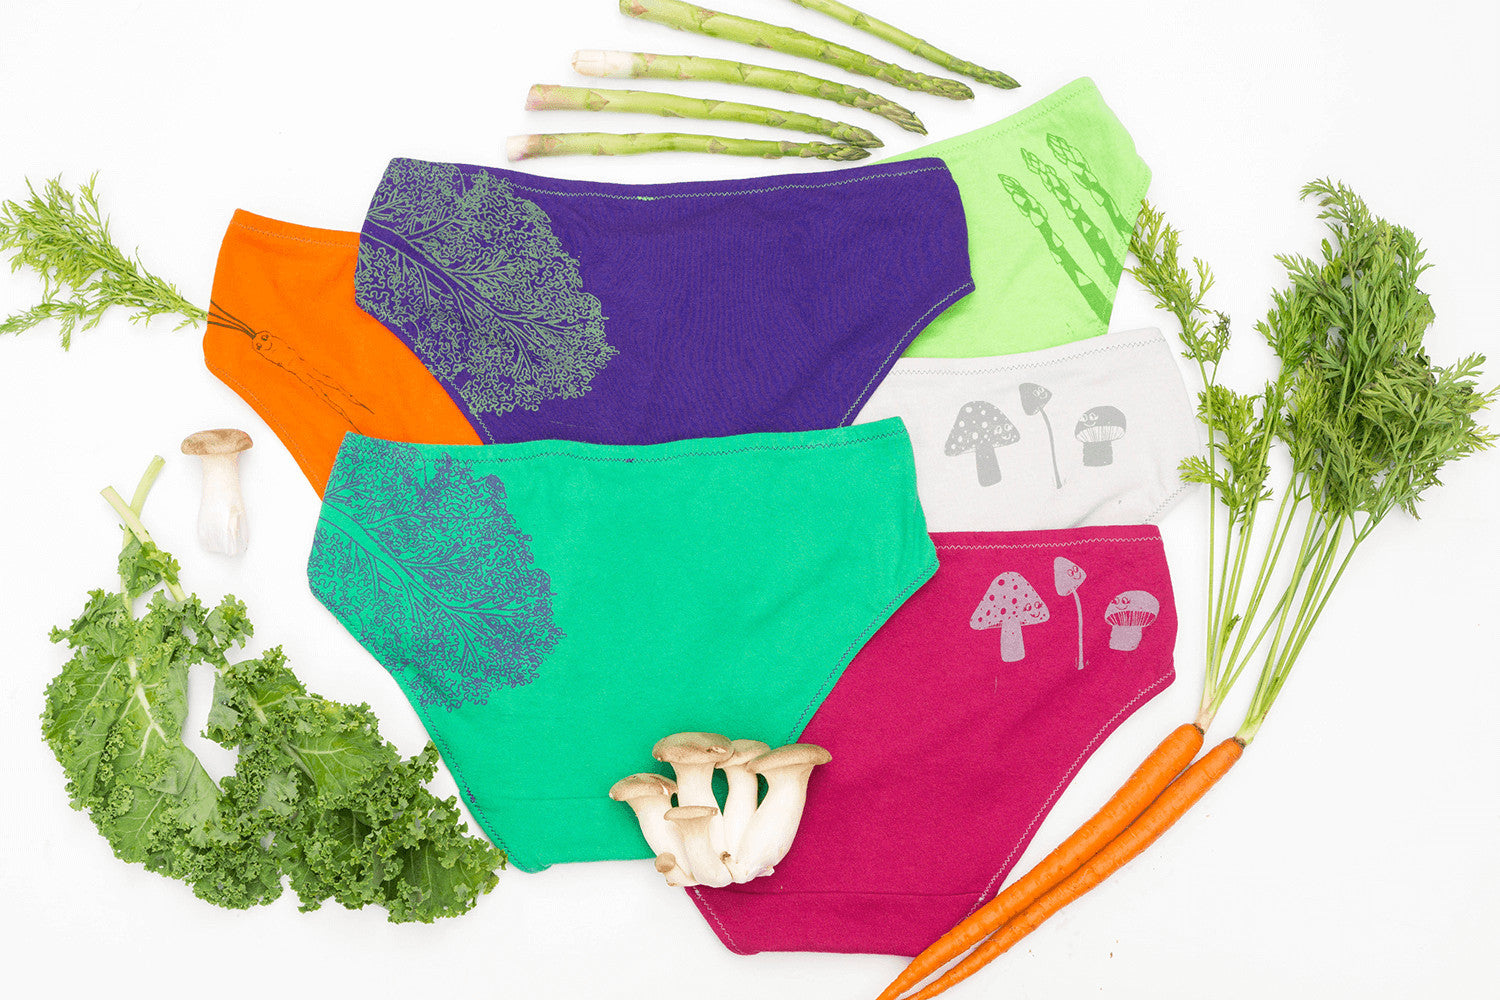
Veggie Tails
Shop the Mini-Collection
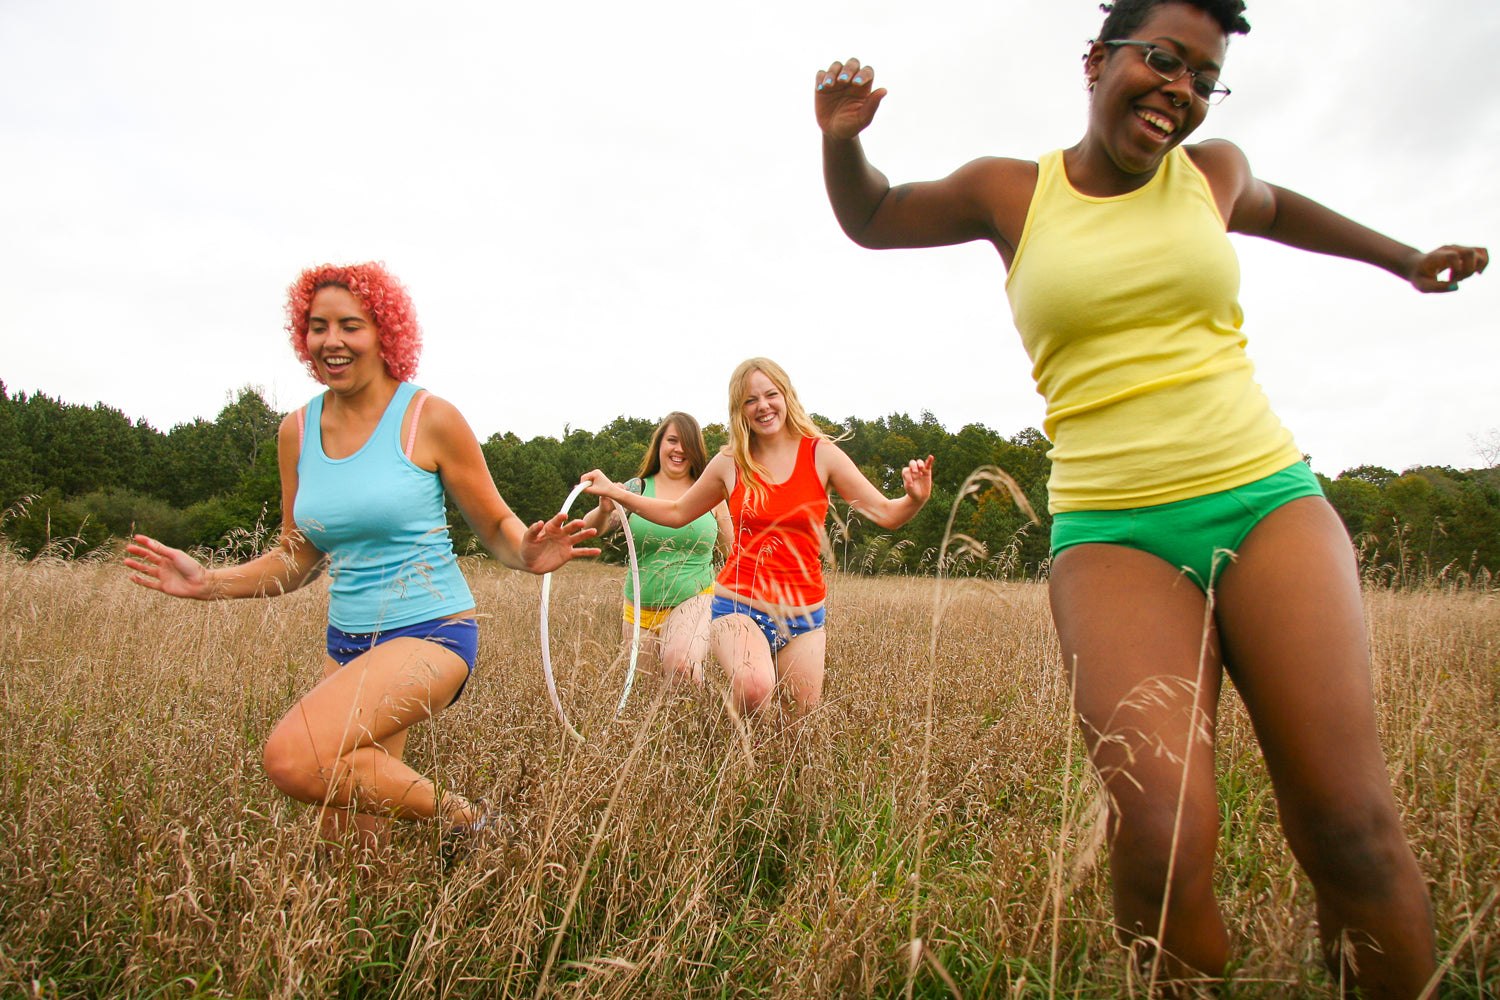
YUM!

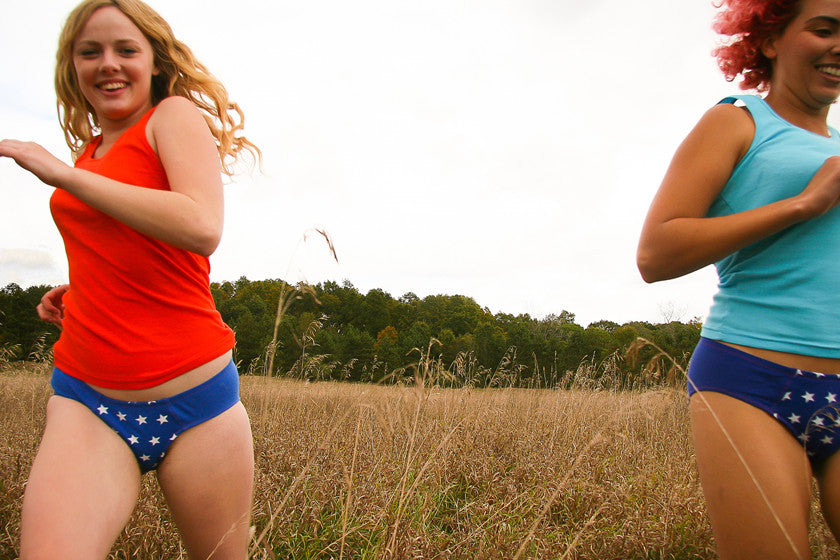
I just want to make sure it's making you happy, that it fits like a glove (or a really fantastic fitting pair of underwear), and that it's making your bottom look as great as it should. Oh, and is it saving the world too? The underwear I make and want to share with you does all that... and more.
- Kori Jock, Cheek Executive Officer

My beloved,
I've started this letter in my head a million times. The long and short of it: La Vie en Orange is closing at the end of the month.
What that means for you: you have 2 more weeks to place orders, ask for repairs on previous orders, reach out about that custom order you've been dreaming about or finally take the plunge for the first time.
This April marks 8 years of making underwear for people that aren't me. I don't make this decision lightly. Hours of tears.
You have meant so much to me, and being a part of your life has changed mine irrevocably. You have made me a better person: more confident and less scared to have opinions or rock the boat, more affirmed in my voice and its value, a better artist, more honed at my craft, a cis advocate for the trans community, less ableist and more intersectionally feminist and more body positive. I am so grateful to have gotten to know you through your orders and comments and emails and I love you.
Click through to read more about the decision.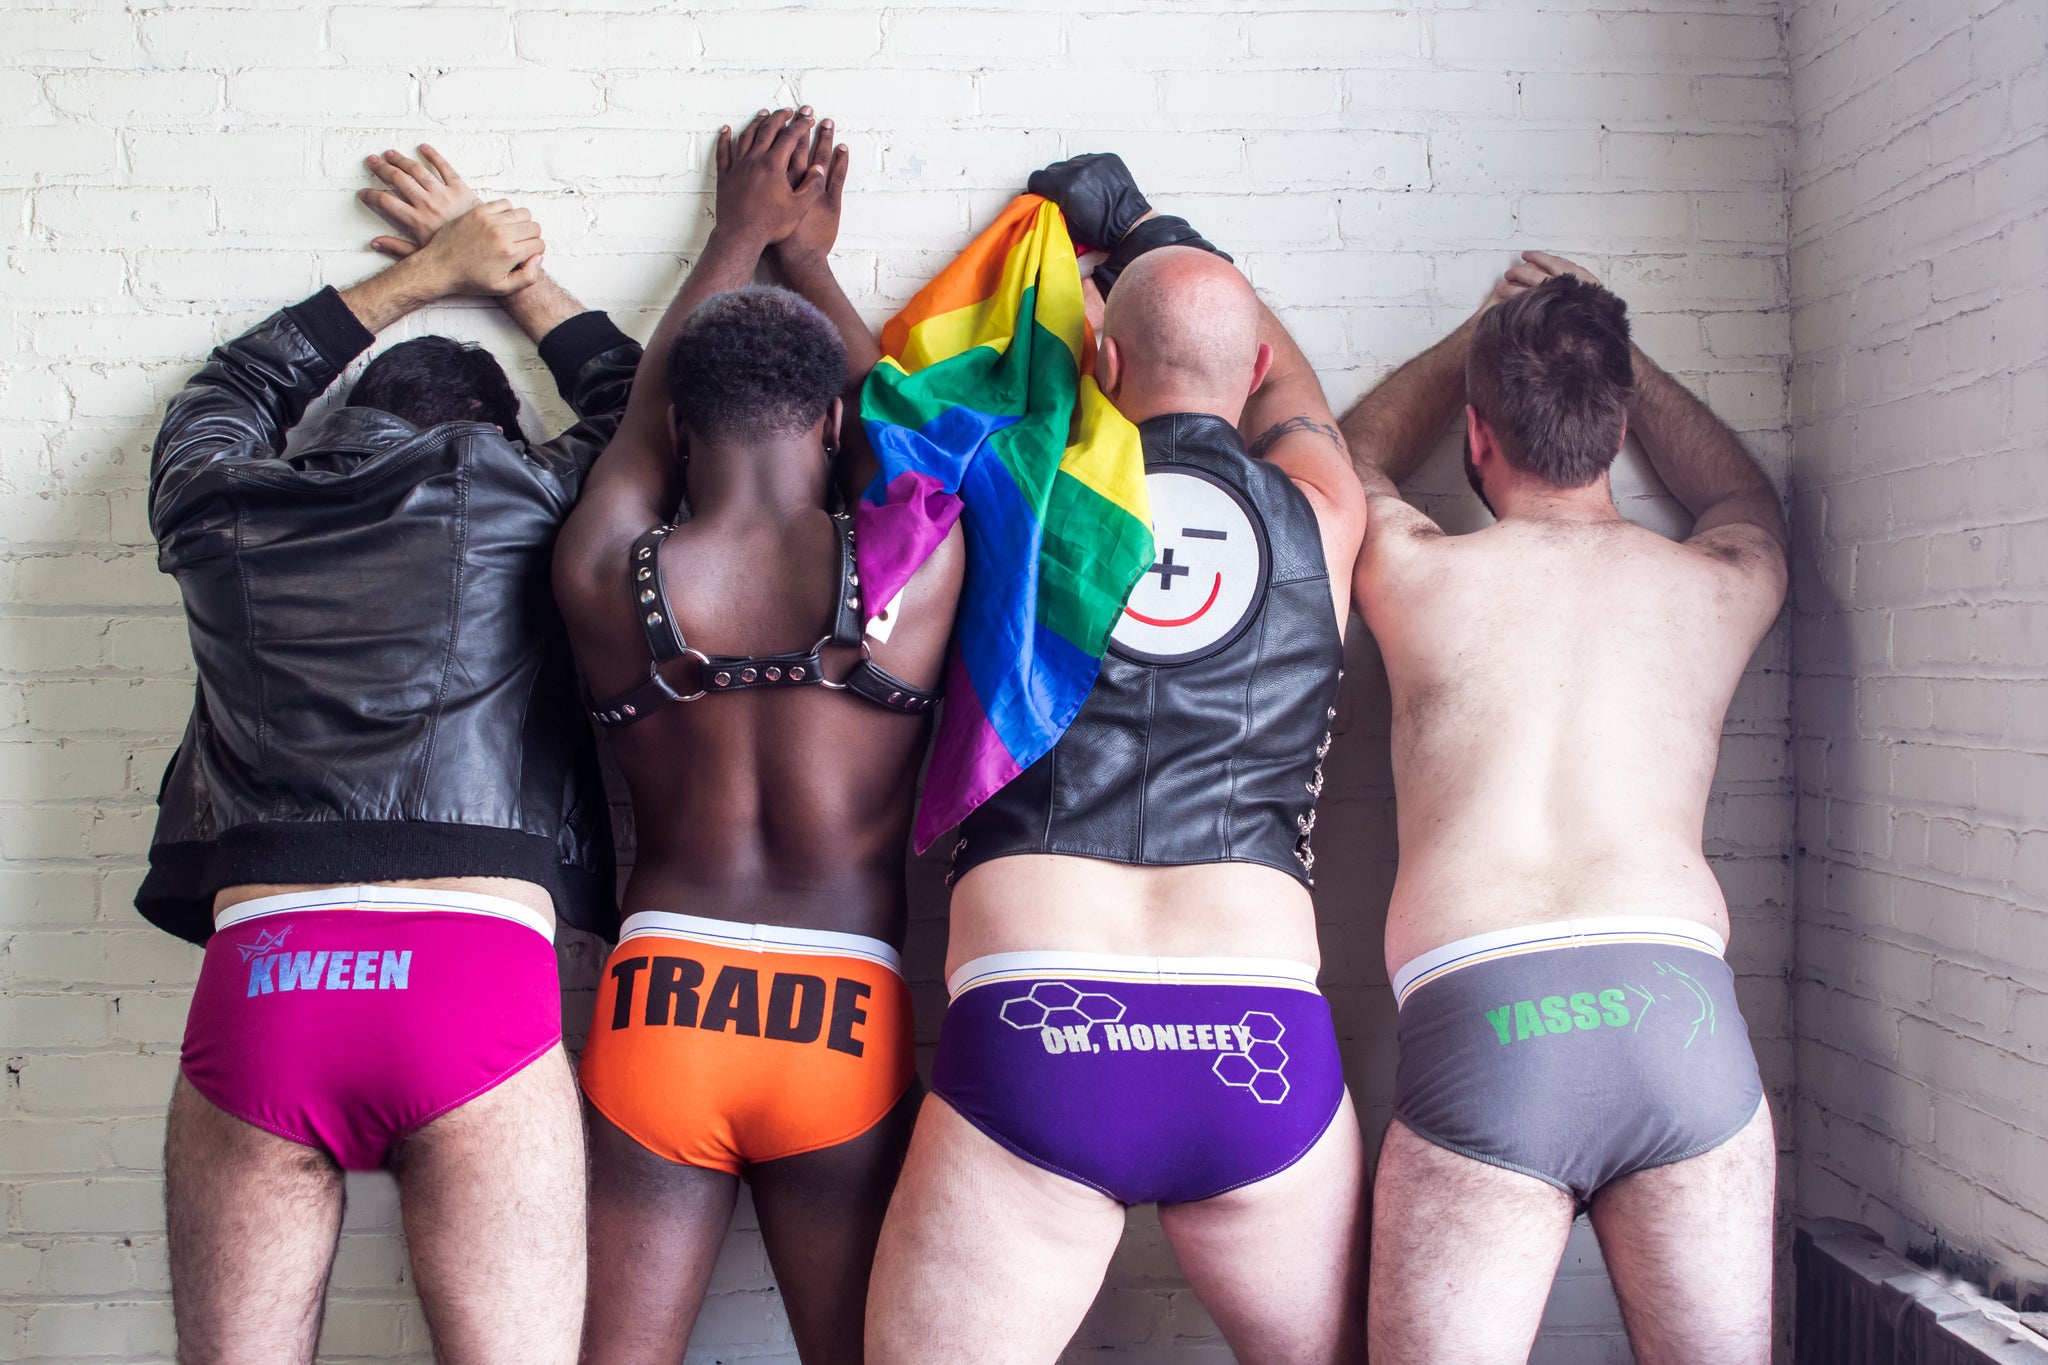
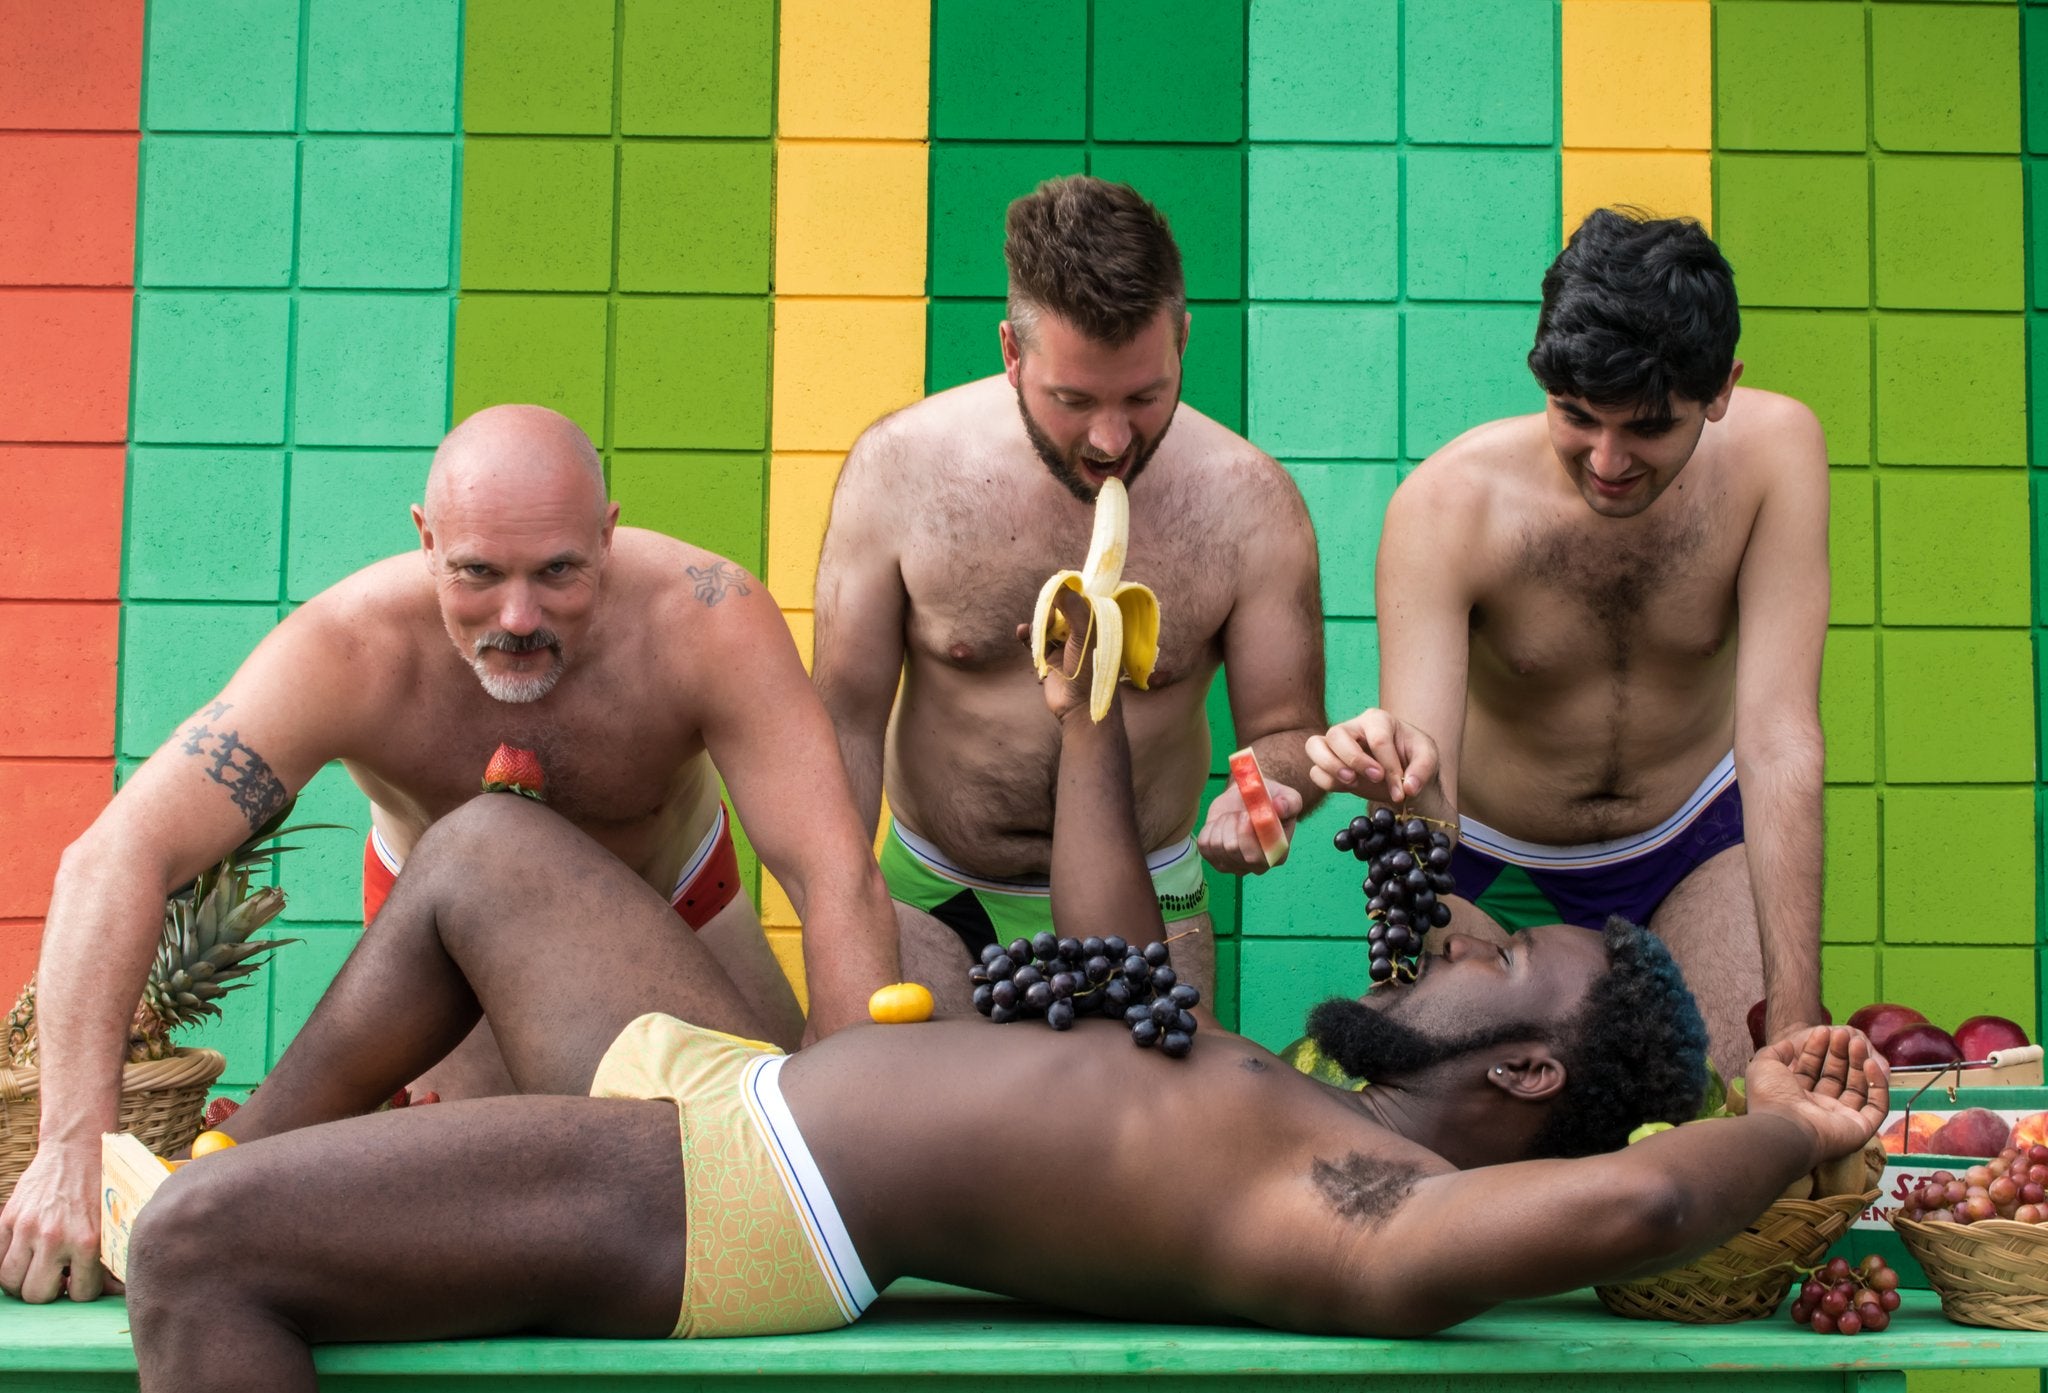
Pride month may be over, but Pride never has to end.
Put a little pride in your pants any month of the year in the new Pride Mini Collection from La Vie en Orange X House of Pariah. Wear them to the next pride parade or any day in between. You'll have everyone screaming, "Come through!" as you strut past, and they'll help your inner kween shine through.
© 2026 La Vie en Orange. Powered by Shopify